What's a planet?
Planets are a type of Urbit ID that is useful for providing individuals long-term access to the Urbit network.
Where to get a planet
There are a few ways to get your own planet:
- Getting an invitation from a friend (or stranger)
- Purchasing a planet, including hosting, from a hosting provider
- Manually setting up and hosting a planet purchased from a third party marketplace
Hosting Providers
Hosting providers will often sell you a planet and run it for you. This option is very simple but will probably cost a regular fee.
Urbit is designed to be portable. This means that if you sign up for hosting now but later want to leave your hosting provider and run your Urbit yourself, you should be able to work with them to obtain all of your data and boot your planet back up without losing anything.
Using hosting does mean that you're trusting your provider with your data, but so long as you have your planet, you'll always own your identity.
Current hosting providers are:
Buying a planet
There are many places to buy a planet using either cryptocurrency or fiat.
Layer 1 planets are the most available through marketplaces, however they can be expensive due to Ethereum gas fees. You will need an Ethereum wallet such as Metamask to purchase these planets, and will later need to sign in to Bridge with your wallet to configure your planet.
Layer 2 planets do not require any crypto wallet management, but are at present less readily available on marketplaces.
Don’t worry, both types work the same on the network.
Here are a few of the places where you can buy planets:
| L1 Planet Markets | L2 Planet Markets |
|---|---|
Layer 2 for planets
Learn more about layer 2 for planets in the User's Manual page on the topic.
Claiming your planet
An invitation to claim your planet comes in one of two forms.
The first is an email invitation with an Urbit ID and a Master Ticket.
The second, only recently made available through our L2 solution, is an activation code or a link to activate on Bridge, which can be thought of as an Urbit account management tool.

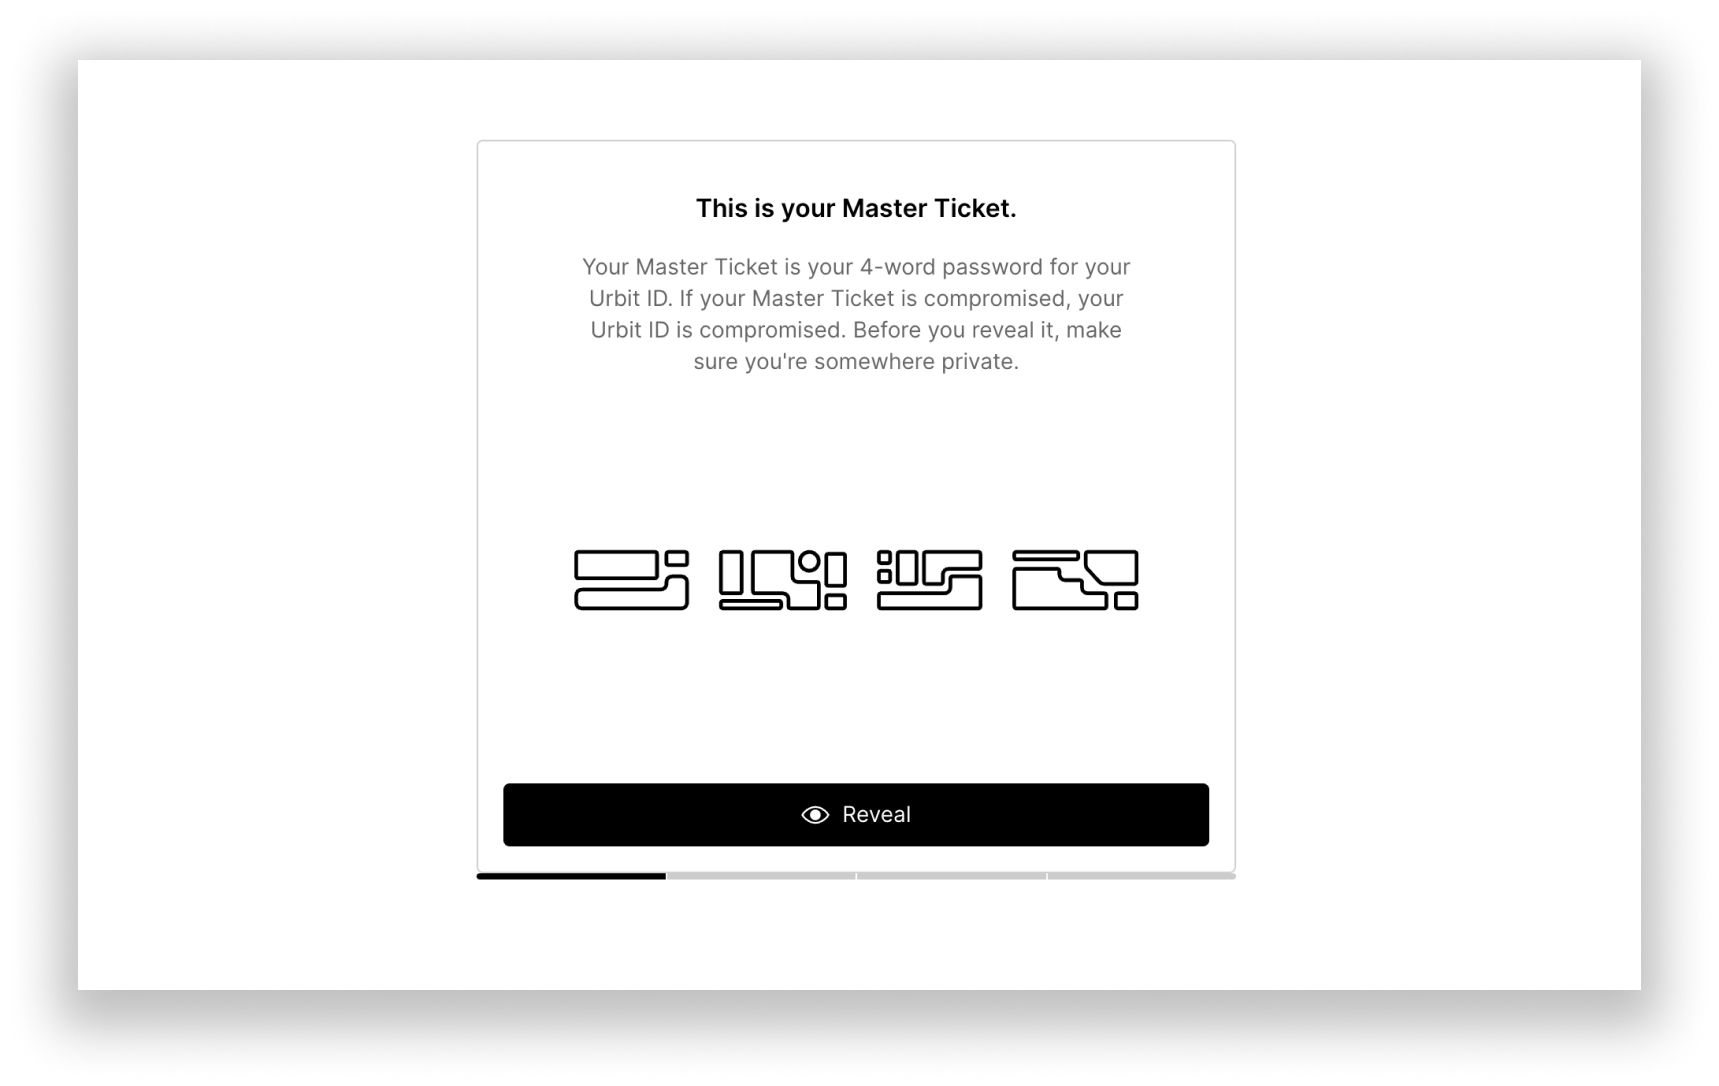
Clicking a link to activate a planet on Bridge will take you to page which will generate a Master Ticket for you. Follow the instructions which will prompt you to download a copy of your Passport: your Master Ticket, management proxy, and keyfile. Store your Master Ticket and management proxy somewhere safe, hold on to the keyfile, and proceed to the next step.
Claiming L1 planets
If you’ve purchased an L1 planet, you won’t need to claim it because you already own it as an NFT. Simply log into Bridge using Metamask or your wallet of choice.
Using Bridge to get your keyfile
Now that you have your planet, you can create your keyfile (eg. sample-palnet.key), which is the cryptographic signature required to encrypt and decrypt messages on Urbit's P2P network.
Claimed L2 planets
If you’ve claimed your L2 Planet then you should already have downloaded your Passport, which contains your Master Ticket and keyfile.Master Ticket holders
If you haven’t downloaded your Passport but have a Master Ticket, then you can simply log in with Bridge using the Master Ticket option with your planet name and Master Ticket password. Click the ID box near the bottom of the page to open the ID page, then click the Download Passport button, which contains your keyfile.L1 Planet Purchasers
Log in to Bridge with your Ethereum wallet using Metamask or the wallet of your choice with WalletConnect. Click the “OS” box on the bottom of the page to open the OS page, and then click the Download Keyfile button.
Next steps
Got your planet?
Get it up and running with one of these options:
Let a hosting provider do the hard work for you.
For power users, check out the command line install guide and run your urbit from the terminal.
If you have a bit of Linux server experience, the cloud hosting guide will help you set up Urbit on a Digital Ocean VPS, so you can access it from anywhere.
Remember, your planet is yours and you can always change how you run your urbit in the future.